Zoom Guides
- Install the Zoom Client for Meetings
Zoom Client for Meetings
To join a Zoom meeting you need the Zoom Client for Meetings. Download the client from the Zoom Download Center: https://zoom.us/download
Open the file you downloaded to install the client, then log in using Sign In with SSO or Sign In with Google.
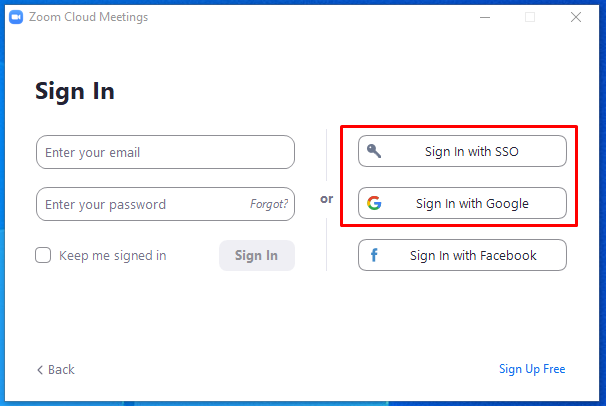
Sign In with SSO
When prompted for the company domain, enter frontier (as shown below)

Click Continue to log in.
Sign In with Google
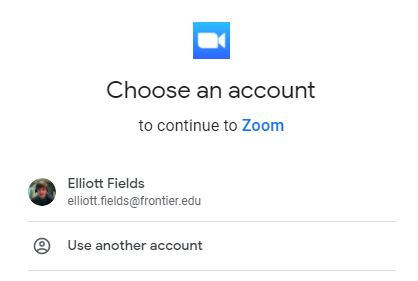
Click Sign In with Google and you’ll be prompted to select your Google account. Select your FNU account to continue.
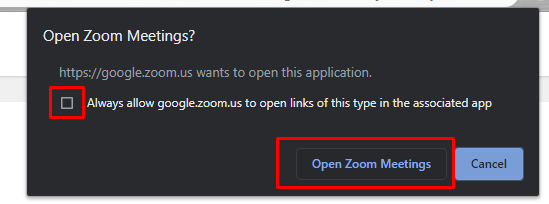
If you are prompted to open web links with Zoom, click Open Zoom Meetings. You can also check the box to prevent being prompted every time.
The client will open and will be logged in to the Google account you selected.
Now you are ready to install the Zoom Scheduler extension so that you can easily create meetings in Google Calendar.

- Install the Zoom Scheduler Extension (and default meeting settings)
Zoom Scheduler Extension
To install the Zoom Scheduler Extension, click here, then click Add to Chrome.
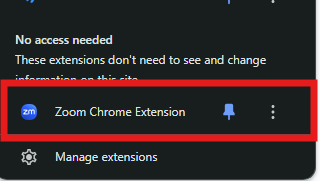
Once the Zoom extension is installed, click the extension icon in the upper-right corner of Chrome, then click the Zoom extension.
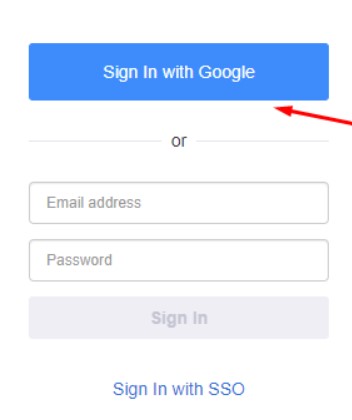
Sign in by clicking the extension and selecting Sign In with Google.
After logging in to the extension, you can set up your default settings.
Click the extension
and then click the gear icon.
(If you don’t see the extension in Chrome, you may have to click the extension icon
in the upper-right corner of Chrome, then click the Zoom extension. Click the pin to keep the Zoom extension always visible on the Chrome toolbar.
)
The page below will open, showing your default meeting settings. Use the information below to decide which settings are relevant to your meetings.
Meeting ID
Generate Automatically - Generates a random ID for the meeting (suggested)
Personal Meeting ID - Uses your assigned Meeting ID (does not change)(Note: If you use your Personal Meeting ID for your meetings and do not use a password, this could allow users from different scheduled times to join the same meeting. It is suggested to use the option Generate Automatically to prevent this from happening.)
Security
Passcode
Checked - Generate a random passcode
Unchecked - No passcode generatedWaiting Room
When Participants join a meeting place them in a waiting room, and require the host to allow them individually. Enabling the waiting room automatically disables the setting for allowing participants to join before host.
To enable Waiting Room, click the link to Change Settings on the Zoom web portal (https://frontier.zoom.us/profile/setting)
Video
Host
On - Allow Host to enable the camera
Off - Prevent Host from enabling the cameraParticipant
On - Allow Participants to enable the camera
Off - Prevent Participants from enabling the cameraAudio
Telephony - Use a phone for audio
Computer Audio - Use computer audio for audio
Both - Use either telephone or computer audio device for audioOptions
Require registration
Check this option if your meeting will require registration. Instead of a join link for your participants, they will be provided a registration link.
For more information on Meeting Registration, please see this article: https://support.zoom.us/hc/en-us/articles/211579443Enable join before host
Allow participants to join the meeting without you or before you join.
Mute participants upon entry
Mute participants as they join the meeting. Participants can unmute themselves after joining the meeting.
Only authenticated users can join
Restrict access to the meeting so that only signed-in users can join.
For more information on Authentication profiles, please see this article: https://support.zoom.us/hc/en-us/articles/360037117472
Automatically Record Meeting
Select if you want to record locally (to your computer) or to the cloud.
For more information on local and cloud recording, please see the following articles
Local: https://support.zoom.us/hc/en-us/articles/201362473
Cloud: https://support.zoom.us/hc/en-us/articles/203741855Include Invite Link in location field
Inserts the Zoom link in the Location field of Google Calendar event.
Alternative hosts
Do you have a co-presenter? Consider adding them as an Alternative host so they have the same in-meeting abilities as you.
Allow me to specify meeting options each time
Enabled
(It is highly suggested that you enable this option! This will allow you to edit future events that may require different settings.)
Click Save Changes.
Now you are ready to create Zoom meetings using Google Calendar!
- Creating a Zoom Meeting using Google Calendar
Log in to Google Calendar
Create an event for the desired time and date of your meeting.
Click More options to see more options for the event.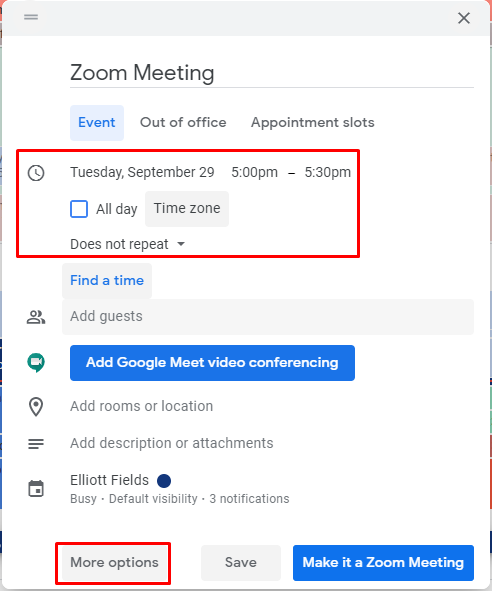
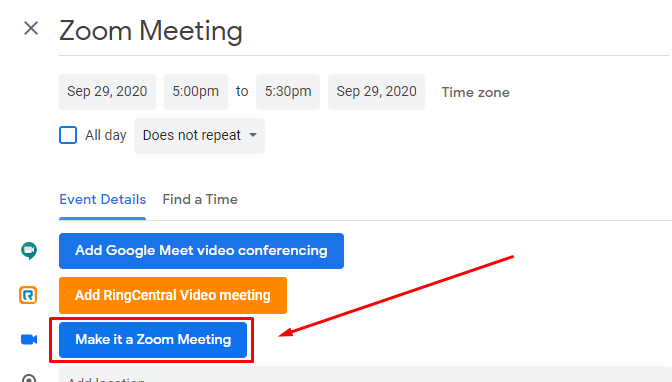
On the More options page, click Make it a Zoom Meeting.
The Zoom Meeting options will appear. Select the desired options for your meeting then click Continue.
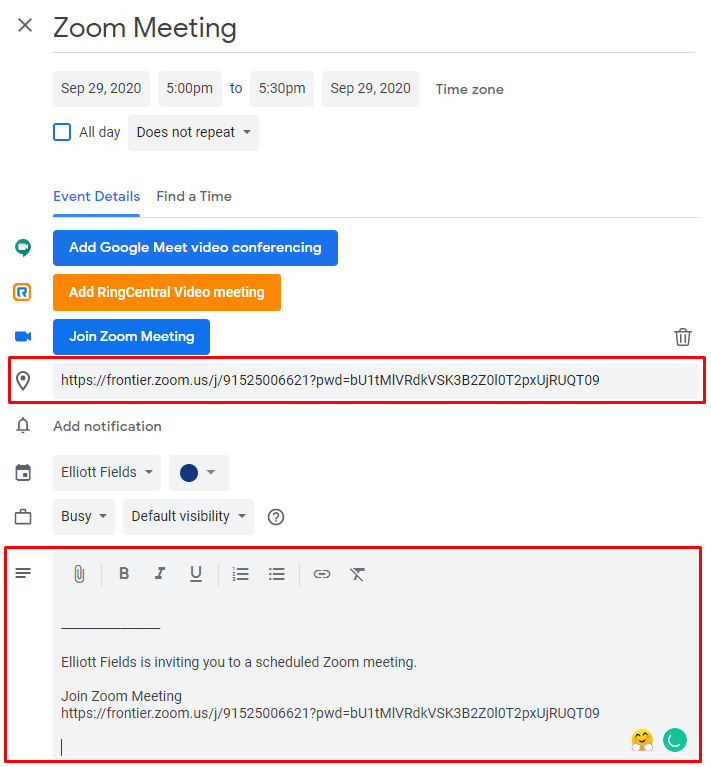
The Zoom link will be created and displayed in the event details and the location area if that option was selected in the Zoom Meeting options.
Invite any desired guests and then save the event.
At the scheduled meeting time, you and your guests can join by clicking the link from the Calendar event.
- Hosting a meeting
Before joining your meeting, make sure you are signed in to the Zoom Client for Meetings. If you are not logged in to Zoom when you join your meeting, you may not be recognized as the host.
To install the Zoom Client for Meetings follow the steps in the guide Install the Zoom Client for Meetings, located above.
If you already installed the Zoom client, open the application on your computer and sign in.
After signing in, click the Zoom link from your calendar event.
- How do I share content, such as a Powerpoint or video?
Please view the video below for assistance sharing content during a meeting. For more information, please see the Zoom Article on sharing content, here: https://support.zoom.us/hc/en-us/articles/201362153
- Joining a meeting?
Please watch the following video to learn how to join a Zoom meeting. (Click pop-out button in upper-right to view in fullscreen)
- How do I access my Zoom recordings?
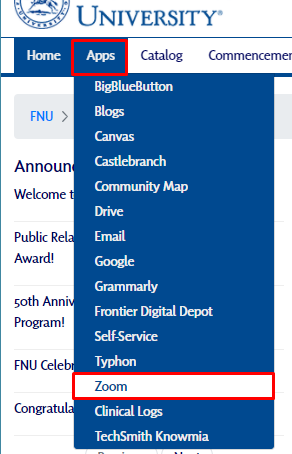
To access your Zoom recordings, navigate to Apps > Zoom from the FNU Portal Page: https://portal.frontier.edu/
Click Sign In
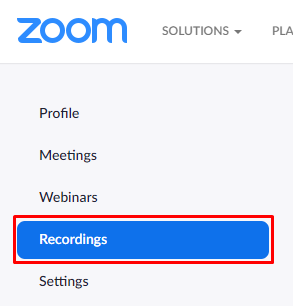
On the left-hand side of your Zoom profile, select Recordings
Cloud Recordings are saved online, to your Zoom profile.
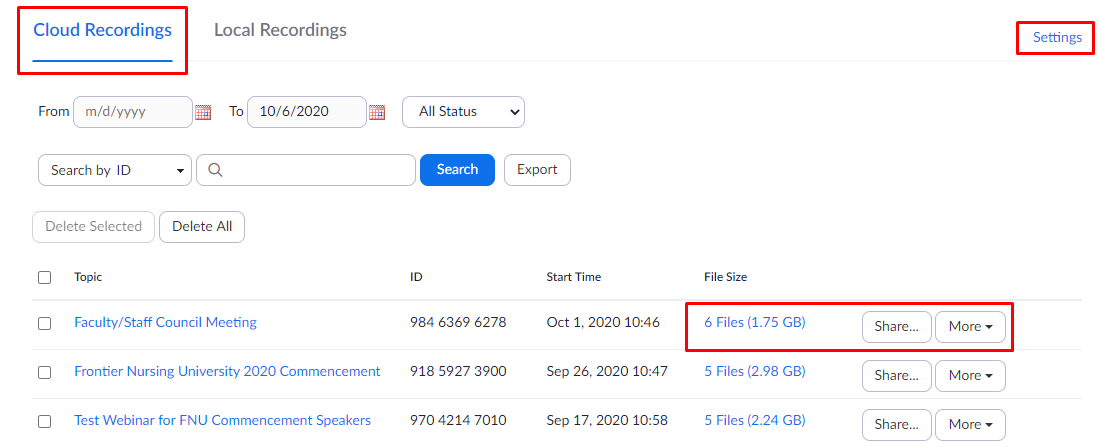
- Use the Date and Status filters and other search options to locate specific meetings.
- If your recording includes multiple files, click the link to view all files.
- To share the recording, click Share...
- The More option allows you to download all 6 files at once or delete the recordings.
- Click the Settings link in the upper-right to configure all recording options (https://frontier.zoom.us/profile/setting?tab=recording) .
Local Recordings are saved to the computer you used to host your Zoom meeting.
- How do I Backup my Zoom Recordings?
Access your Zoom account from the Portal by going to Apps > Zoom (https://frontier.zoom.us/), then Sign In.
Click the Recordings tab on the left-hand side of the page.
Under Cloud Recordings, you can click the link under File Size for the recording you want to save, then download the version you desire. You can also click More > Download, which will prompt you to download all versions of the recording.

Once you click Download, you will be prompted to select a save location on your computer to save the file. Alternatively, if you have Google Drive File Stream, you can save the backup directly to your Google Drive account.
You can also view the video tutorial below to see this process in action.
(Click the arrow in the top-right corner of the video to view in fullscreen)
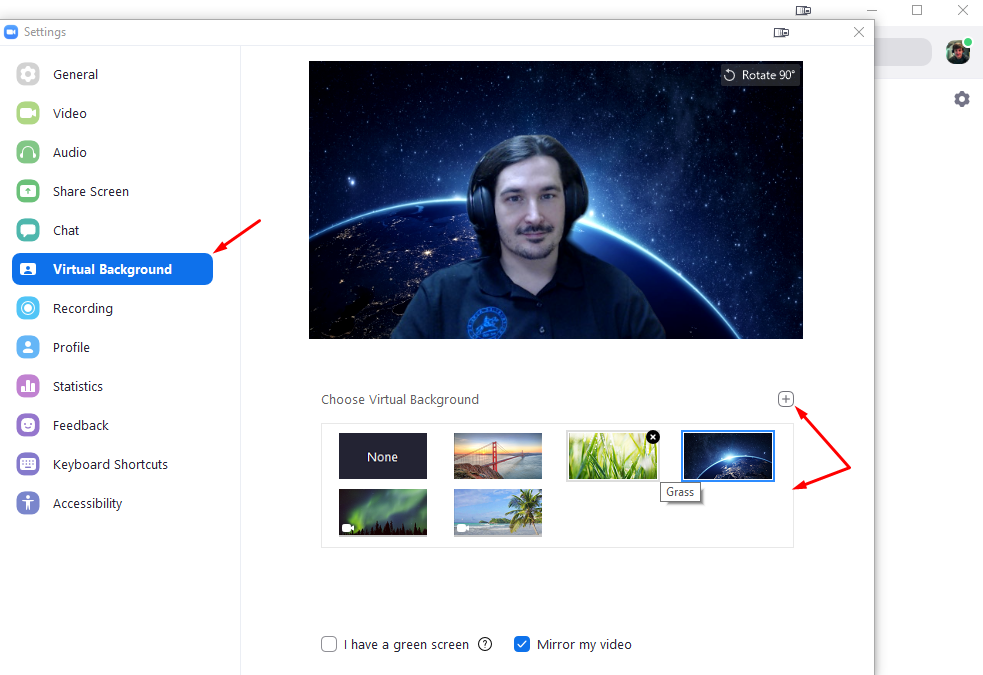
- How do I use Zoom Virtual Backgrounds?
The virtual background feature allows you to display an image or video as your background during a Zoom Meeting.
Virtual Backgrounds do not work with all hardware. Please refer to the system requirements for Virtual Backgrounds, here: https://support.zoom.us/hc/en-us/articles/360043484511-System-requirements-for-Virtual-Background
- Sign in to the Zoom desktop client.
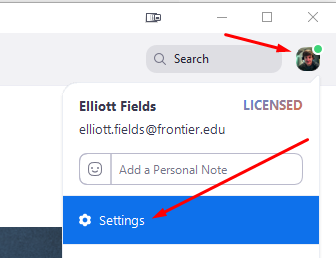
- Click your profile picture then click Settings.
- Select Virtual Background.
- Check I have a green screen if you have a physical green screen set up. You can then click on your video to select the correct color for the green screen.
- Click on an image to select the desired virtual background or add your own image by clicking + and choosing if you want to upload an image or a video.
- If prompted, click Download to download the package for virtual background without a green screen.
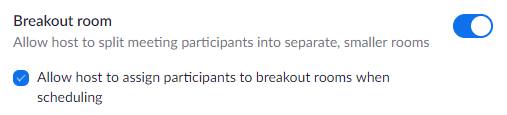
- How do I use Breakout Rooms?
Breakout rooms allow you to split your Zoom meeting in up to 50 separate sessions. The meeting host can choose to split the participants of the meeting into these separate sessions automatically or manually, or they can allow participants to select and enter breakout sessions as they please. The host can switch between sessions at any time.
To enable the breakout room feature for your own use:
- Sign in to the Zoom web portal. .
- In the navigation menu, click Settings. .
- Navigate to the Breakout Room option on the Meeting tab and verify that the setting is enabled. If the setting is disabled, click the toggle to enable it. If a verification dialog displays, choose Turn On to verify the change.
After enabling breakout rooms, you will have the option to enable breakout rooms during your meeting. View the video below to see how to manage breakout rooms during a meeting.
- How do I create polls in Zoom?
The polling feature for meetings allows you to create single choice or multiple choice polling questions for your meetings. You will be able to launch the poll during your meeting and gather the responses from your attendees. You also have the ability to download a report of polling after the meeting. Polls can also be conducted anonymously if you do not wish to collect participant information with the poll results.
Please see the following Zoom guide to set up Polling in your meeting: https://support.zoom.us/hc/en-us/articles/213756303-Polling-for-meetings